How to Make a Short Film: Making that Passion Project Become a Reality

why passion projects matter
Passion Projects. We all have them. It's that idea that wakes you up 3am, building shot lists and scouting locations. But the reality is that most of these projects never see the light of day. From time, to budget constraints, cast to crew, and skills to equipment, there is never a shortage of excuses.
It’s our mission at Rhino to serve and inspire filmmakers. As storytellers ourselves, we know the struggles, because we’ve lived them. So in 2021, we're saying "enough." It's time to make those passion projects and to support you in chasing down your dreams, we've put together a campaign solely focused on helping creators remove any hurdles and bring the projects that inspire you, to life.
To kick off the campaign, we hosted several live streams (which you can see here) that helped us take a story from script, to screen.
No matter what your passion is—doc, narrative, commercial—this series has been designed to help you tell your stories. As storytellers, we have a responsibility to help make the world be a better, more kind and accepting place.
table of contents
Episode 1: Developing the Story
How to make a short film script
Believe us when we say we love gear just as much as the next filmmaker (and we’ll have a few episodes dedicated to just that) but without a story, gear is just a bunch of fluff.
Last year (2020), when we set out to begin Your Story Matters, it was all about story—specifically, your stories. We wanted to give a voice to a story that might not otherwise have been told.
We kicked off the campaign by asking you to be vulnerable and share a story that is significant to you. We received dozens of entries from all over the world, which made the selection process very difficult. Luckily, we had great help along the way from several industry experts.
When it comes to story, Hussain Pirani is a master. He gave us some great tips on how to find and develop a story:
- Stew on ideas for a long time. Time will help you to develop the key ideas and themes you're trying to convey.
- Distill ideas down to a universal truth. Once you have your theme nailed down, break it down to its most simple universal truth and use this truth to guide your narrative.
Ryan Connolly also helped us better understand how to be truthful and honest in our approach to storytelling:
"Write what you know." This doesn't mean you need to be narrowly limited but write your story and ideas from the perspective that you actually have experience with. Then, tell the honest truth about that idea. This will help you stories to be more genuine and believable.
This will make the story you're telling highly personal, as it should be. It’s about putting yourself, your emotions—even your beliefs—on the line. Story isn’t just about what you say, but how you say it—visually or otherwise. We call this voice. Hussain and Ryan both talked about voice and why it’s so important. They also assured us that we all have one, sometimes we just have to find it. There are a lot of great resources and exercises that you can do to help find and develop your voice.
For our story, Ian Lauer provided us with a great theme, that is almost universally relatable - the idea of home, humanity and connecting through a universal truth— our fascination with space. With that as a springboard, we pulled together ideas from two other entries about enduring family relationships and overcoming obstacles.
Ian’s entry was full of heart and excitement and like any good story, his excitement quickly became our own.
At the heart of every good story, lies conflict and our protagonist, had no shortage of conflict; his father has recently passed and as the next of kin, he was left to shoulder the brunt of that burden.
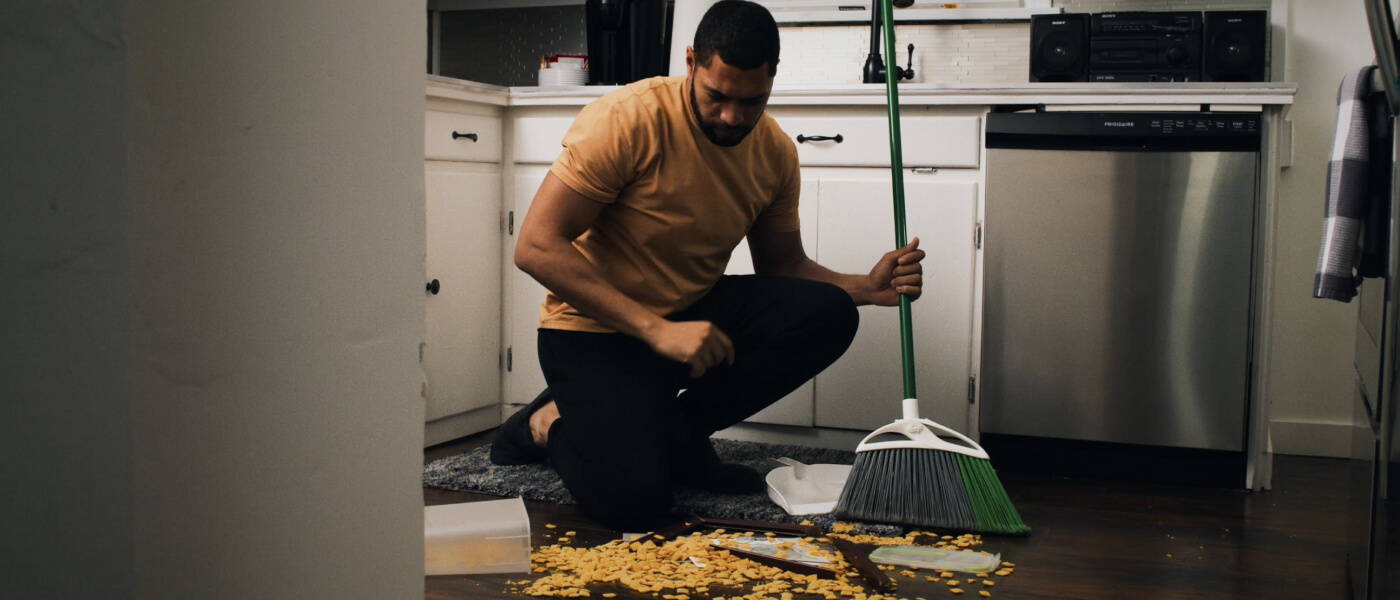
Overloaded with medical bills, we are introduced to Owen, just as he finds out he’s lost his job. At that low moment, we want the audience to feel the weight that’s on Owen’s shoulders. Like Hussain taught us, we’ll be using our central theme of connectivity, enduring relationships, and overcoming challenges by finding new perspectives.
One of the biggest lessons we learned about story development on this shoot was the need to be flexible. For example, when one of the primary locations was different than originally envisioned, we didn’t have the budget to hire as much talent as we wanted, and events happened on the fly that caused necessary—but positive—story changes.
After shooting the road trip portion of Grounded, we were minutes away from our sunset scene where Owen was supposed to meet up with a group of hikers. But there was an accident and our lead talent ended up getting his head split open. It didn’t need stitches or anything but it was a noticeable cut that would have to be introduced into the storyline.
With the sun quickly setting, and a fresh cut on Owen’s forehead, the entire team brainstormed a solution on the way to the scene. Check out what we came up with—
Luckily, the change in many ways was more organic and we actually leaned into it. It got the chemistry going right away for our two lead characters.
So if a need arises that causes your story to pivot, it’s not the end of the world. See it as an opportunity to get creative and find solutions. After all, even films with the largest budgets are crafted upon a series of compromises.
Episode 2: Pre production
Dial the details long before pressing record
Pre-production is a critical part of preparation for any project. How do you know if you’ve prepared enough for a production? In some ways, you won’t know until you’ve actually completed the production, but with the right amount of prep, you’ll be as ready as possible and even have a few plan B’s in place.
Pre production can be simplified into two basic categories: Budget and Story.
film budgeting for short film
Why is it so important to start pre production with budgeting? The old adage of “time is money” is unfortunately true. Even in situations where talent and crew elect to join your passion project for free, or at a discounted rate, there are almost always costs involved and it’s important to understand and prepare for as many of them as possible.
As up-and-coming filmmakers, it’s easy to think that having a bigger budget will solve all of your problems, but even the most expensive productions have to make compromises. A tight budget doesn't have to be restrictive, but it will require some creativity.
For our film, Grounded, we set a modest budget of $5,000. Now that may seem like a lot, but it’s amazing how fast that goes! Here’s a breakdown of how that money was allocated:
As you can see, 75% of the budget was spent on people and that number just seems right to us. We were able to allocate the majority of the budget to the people that would help the best story be told—the cast and crew.
Whenever possible, we recommend hiring professional talent; they’re experienced, professional and accountable. Plus, because the cast and crew were so efficient, it also saved us money on having to pay for multiple days at locations.
Planning for the story
Location Scouting
There are several ways to approach location scouting for your passion project—or any project for that matter. Location scouting can take a long time, so it's great to lean on your network. Once you've decided the key looks you want within your location, put feelers out on social and post a handful of reference images. You'd be surprised how many friends of a friend have the perfect location for you.
During our pre-production, we had a chance to catch up with Devin Graham and dive deep into location scouting. Devin is a pro at location scouting for film. In many ways, his locations become characters in his stories.
In order to capture the essence of a great location—like our outdoor location in Bryce Canyon, UT for capturing the Milky Way—Devin had a few great tips:
- Use wide angle lenses. If you have a great location—show it off! Help your audience feel like they’re right with you. Typically a 16-35mm lens is best to give you versatility while remaining wide.
- Don't forget about sound. Sometimes you may find the perfect location... expect it's next to a noisy street. If possible, go to the location at the same time of day you plan on shooting and listen to what you should be prepared for.
- Think about the sun. Competing with the sun is almost impossible, but working with the sun will elevate your production immensely. Best of all it can be done on a budget using a simple bounce board or diffusion filter.
Time-lapse we captured for "Grounded." Shot on the Rhino 42" Pro slider with Arc II.
Art Direction
Devin was also real about the fact that since the perfect location isn’t always possible, set dressing and art direction will go a long way. See if you have a local prop house or theater that rents out props or wardrobe. Second-hand stores are also great for finding deals. You can also go the most budget friendly route of all and "shop your home" or go DIY and create the items you need.
Building out a Shot List
We recently caught up with Dru Williams, the DP (Director of Photography) for Grounded, to discuss how he prepped for production by building out a thorough shot list:
“Detailed shot list is everything. I won’t work on a film without a shot list. It’s my cheat sheet. By applying that brain power to the script prior to production you have the ability to use it elsewhere on set. Even though a lot of the shots change (ie. using a different lens than planned) it’s important to come to set prepared. A shot list helps keep you on time, it answers questions you’ve already thought about, and gives you an order of operations for the production.”
Want a head start on building out your shot list and other key elements of production? Check out our free templates here.
A final note on Pre Production
There is so much to consider during pre production for any project, but especially narrative work. Be sure to get your budget on lock early so that you know what you’re working with. Then, put all of your focus on wisely stretching that budget to tell the best story: talent, locations, transportation, craft, and of course gear.
Episode 3: Gear—Camera & movement
Capturing the look of your passion project
As we continue dow the path of pre-production, we need to prep our gear selection. In making our choices, we asked ourselves, "what the right tools are for telling a narrative story and more specifically, what are the right tools for telling our story?"
Every story is a blank canvas, and while over a century of discipline has gone into crafting a collective cinematic language, there are always new things to learn and experiment with. That’s why gear can be so exciting.
Of course, it’s important to remember that gear is simply a toolset and should never trump the story itself. We can learn a great lesson from designer Naoto Fukasawa—“good design [or in our case, good cinematography] is unobtrusive, intuitive, and invisible.” This is a sentiment that Roger Deakins shares about his approach to camera movement in his work as an Oscar winning DP.
There has never been more innovations within digital cameras that in the last 18 months. Of the many amazing cameras that came out, one stood out above the rest as the perfect choice for our film: the RED Komodo.
It’s a small, yet feature packed cinema camera:
- 6k raw
- Canon RF mount
- Global shutter
- Easy to power
- Easy to rig
- Lightweight
- Manageable file sizes
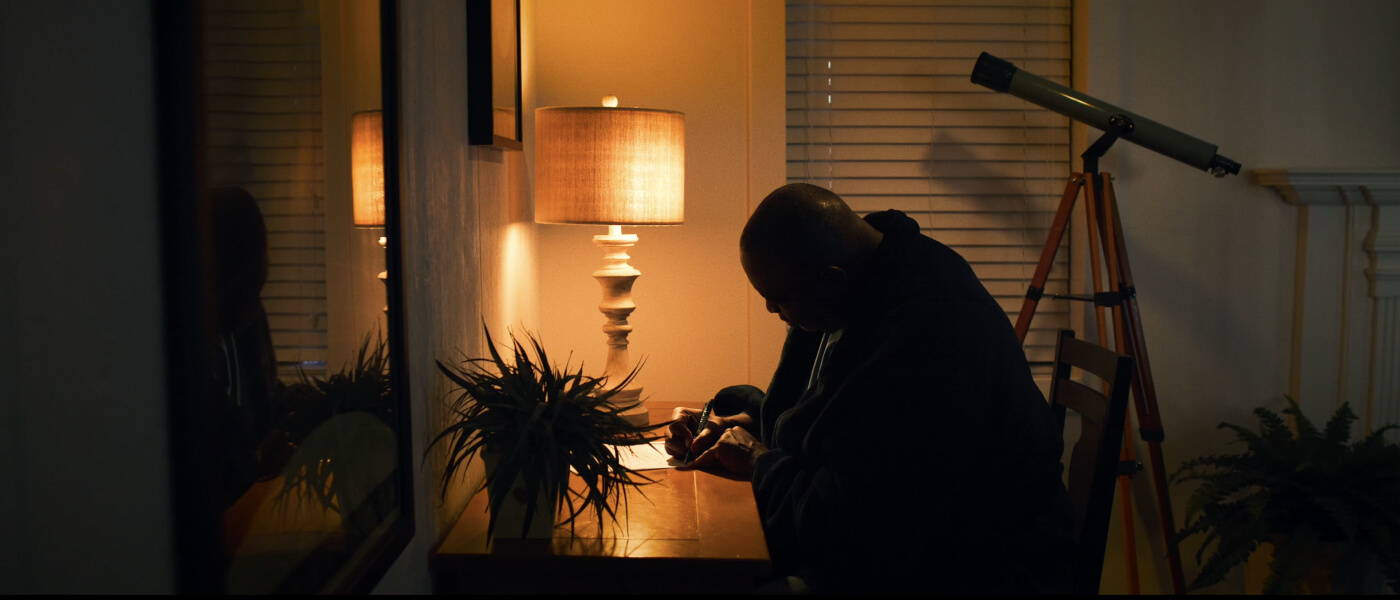
Scene from Grounded when we put the Komodo with the Laowa 12mm Lens in a trash can. We covered the lens/camera from debris by placing a small sheet of plexiglass on top of the lens.
Being able to put this powerhouse of a camera in tight spaces was key—like really tight spots.
When we filmed Grounded, we were using one of the Beta Stormtrooper models. It was fun to be a part of the early group using that camera and our hats are off to the team at RED. The camera performed flawlessly and we were particularly delighted with the color accuracy on our monitors to gauge exposure, in addition to the many other exposure tools within the camera. The global shutter also helped tremendously with any post stabilization.
In an effort to keep the gear package accessible, we paired the Komodo with the Rokinon DS Cinema Lenses. These lenses are far from perfect, but offer lots of character and for the price, they’re hard to beat.
We also reached out to our friends at Venus Optics, and they were kind enough to send over the 12mm t/2.9 Zero D EF Cinema Lens. This lens is amazing and the perfect pairing with the super 35 sensor of the Komodo. The Zero Distortion feature holds up extremely well with minimal warping, even though this lens is incredibly wide. This came especially in handy when putting the camera in a trash can, refrigerator, and a closet corner.
As I worked with our DP, Dru Williams, we knew camera movement was going to be a key part of our approach to telling the story. We started the film by using a series of static shots to help establish the protagonist’s home. We wanted it to feel like his life was static, like he was stuck. Then as we’re first introduced to Owen, we pushed in using a series of underslung slides on the 42” rails with Arc II. Kitted out, our Komodo rig weighed ~6 lb which is well within Arc II’s 15 lb weight limit. These shots combined with the framing, helped to further the idea of isolation that Owen was experiencing.
At the end of the film we did the inverse, pull out to reveal a new perspective which helped to illustrate Owen's sense of relief, like a wight had been lifted from his shoulders. In the next shot we step out of the room altogether and show Owen walking out of the place that seemed to initially be his prison.
In the middle of the film we used a mixture of handheld and tripod-based pans and tilts. These shots were used to show the vastness of the landscape and to be more organic and personal, as Owen begins the relationship with his new friend.
For the money shot of the Milky Way against the silhouette of Bryce Canyon, we of course used the Time-lapse bundle.
When selecting both your camera and your rigging options, it’s important to consider:
- How you're going to use the camera
- What type of movements you want
- The amount of time you’ll have between setups
As our production schedule had almost no wiggle room, we needed to focus on speed and efficiency. All of our gear used the Manfrotto 501 plate which made switching between tripod, slider, gimbal, and handheld, easy and fast. We also had all of our lenses in one case and had a system for efficiently swapping glass. Lastly, we leaned on our shot list to make sure we were prepared for upcoming shots.
We’re often asked, “what’s the best camera to use?” and while it’s easy to get lost in specs, the answer can be rather simple—the best camera you have access to. It’s also good to consider your weakest links, such as your other hardware—monitors, media, cases, computer, storage, lenses, rigging—in addition to your software and overall budget. With these considerations in mind, the camera self-selects quickly.
For our production, it led us to the RED Komodo, and while it is an incredible camera, no camera can make up for bad lighting or audio. In our next episode we’ll talk all about our lighting and audio selections.
Episode 4: Production—lighting & audio
shaping the images and sound scape
Of all the factors that affect the quality of a production, few have more impact than lighting and audio. We’re grateful to have had Aputure and Rode join us as sponsors for our short film. Both companies make excellent products with extreme attention to detail that can be heard and seen.
When selecting gear, our goal was to keep the production package as light as possible. For lighting, we used the Aputure 120D II, 300D II, and the new 4-pack of MC’s, which are small RGB lights that pack a lot of punch.
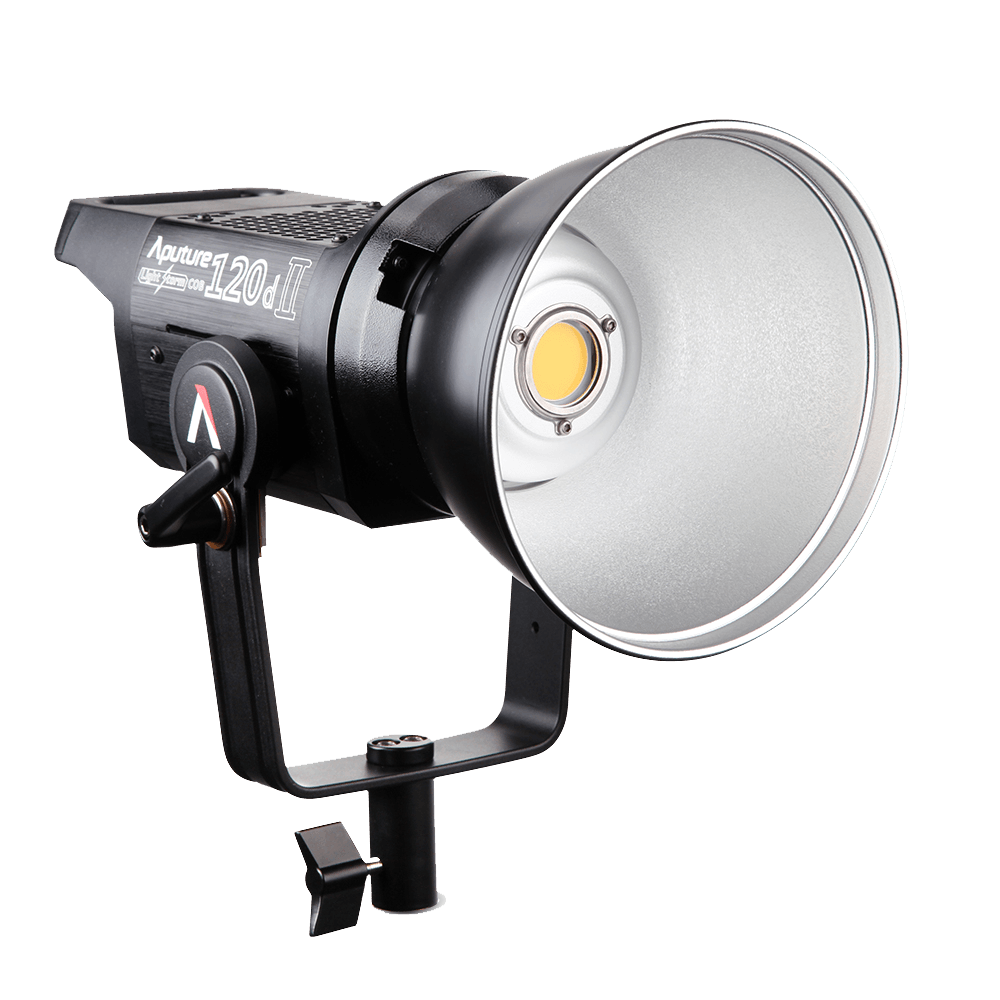
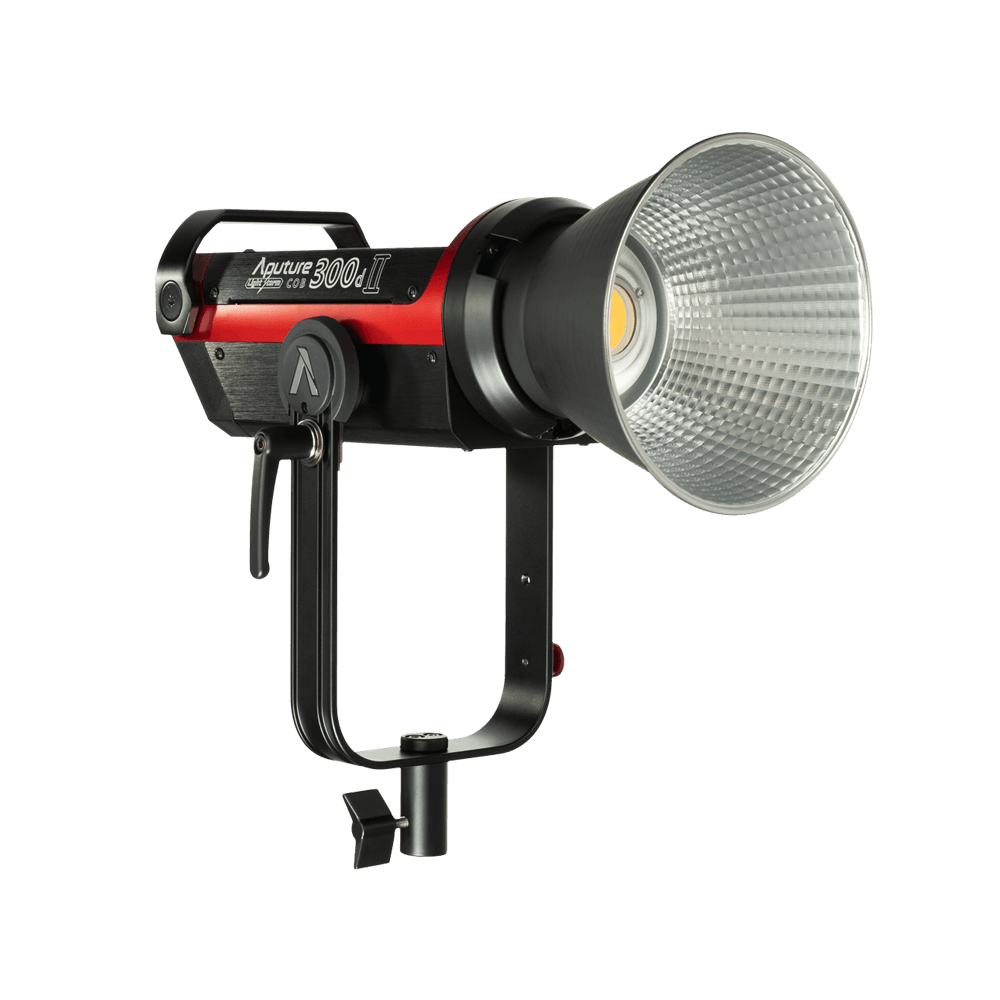

In addition to the lights, we used a variety of modifiers—soft boxes, bounces, diffusion, and negative fill. This helped establish the moods we were looking for, by shaping the light.
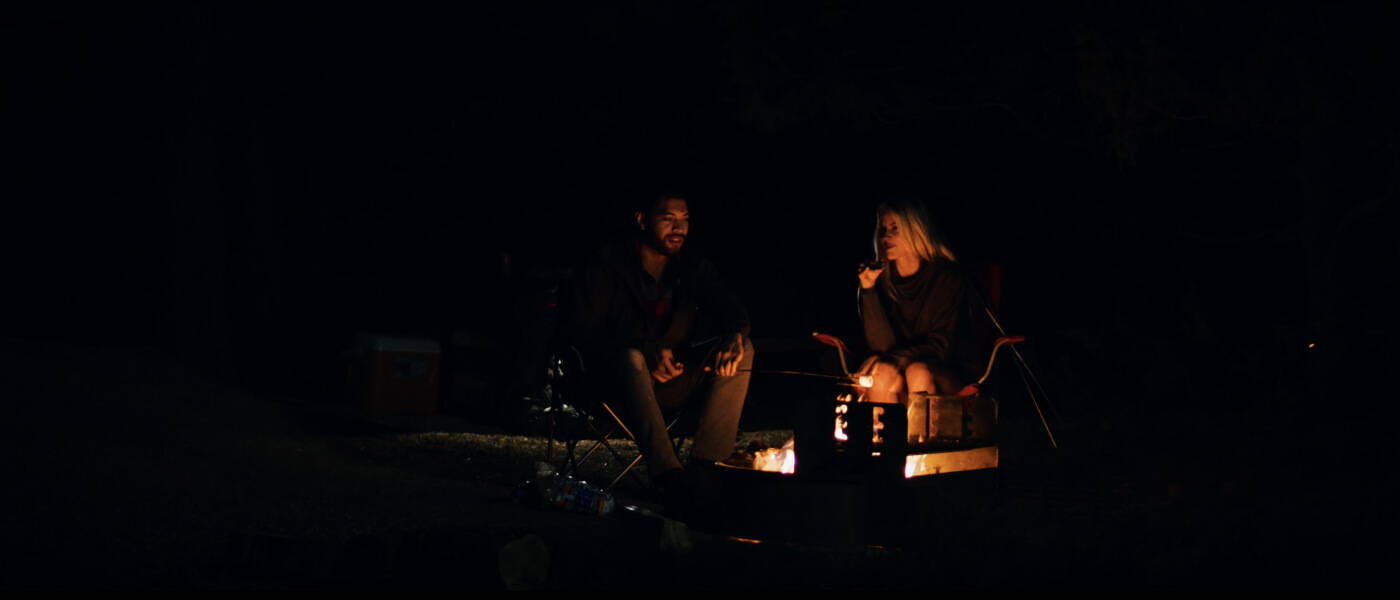
One of the best parts of Aputure’s LEDs is that they’re battery powered— either internally or externally—depending on the light. This was essential when we were camping in the middle of nowhere and we didn’t want to haul a generator around just to get a fill light, during our night filming. The built-in battery on the MCs provided 60 minutes of runtime and charged conveniently through the magnetic case. Another benefit of the built-in batteries that proved helpful was not adding bulk or cables when mounting the light in tight spots, such as the inside of a lamp shade, or on a car dash. The magnets are also very useful for mounting.
Audio is also a crucial part of any production. In order to fit our tight schedule, we opted to have the driving dialogue of the story be handled through voice over. This meant that the main sounds we were capturing while shooting were more “nat-sound” or natural sound, for building out our sound design.
To capture audio on set we used RODE’s Videomicro NTG. This is an incredible little microphone. It has a built-in battery that lasts for ages and conveniently charges through USB-C, which also converts the mic to a USB mic that can also be used to record voice overs and other effects. The built-in gain control also makes adjusting levels on the fly fast and easy.
RODE’s entire lineup is solid, from the game-changing WirelessGo lav mics to the NTG-5. No matter your audio needs, be sure to check out RODE for your audio considerations.
There are a lot of resources on YouTube and other creator courses for how to capture great audio and lighting, so we won’t be diving deep here. But if you’re just beginning your journey as a filmmaker, here are a few pointers:
- The closer, the better. Both light waves and audio signals fall off exponentially the further you get from the source. Keep your mics as close to the source as possible, for the cleanest signal. If you need more light, but have limited output, move the light closer and adjust camera framing.
- Less is more. Unless it’s a stylistic choice, let your lighting be practically motivated—such as sun through a window. The same is true for sound design—going over the top can become distracting.
- Get creative. Don’t have a good mic or lights? Gaff tape your phone to the end of a boom pole and use the built-in voice recorder for a mic. Need a light? Pull up a fully white screen on your computer and turn up your brightness. You’ll have to shoot tight, but this may be just enough light to provide that catch light you’re looking for.
As we discussed previously in this series, gear is just a tool, but when properly sourced it will help elevate your productions, not hinder them. We love working with like-minded brands who put so much thought into the production workflow. All of the lighting and audio gear from RODE and Aputure helped add extra depth and diversity to the final project.
Episode 5: post production & premiere
getting your passion project across the finish line
If you’re anything like me, post production can feel daunting. You’ve already summited a few major mountains—pre-production and production—and still have a major one ahead of you: post-production. It can be overwhelming to manage everything from media storage, to color-grading and sound design. We’ll take you through the ins and outs of post, and even some of the lessons we learned from other creatives along the way.
Like any part of the production process, organization is key. While there isn’t a right way, there are a lot of wrong ways to manage your media.
When I begin any project I use the following file structure:
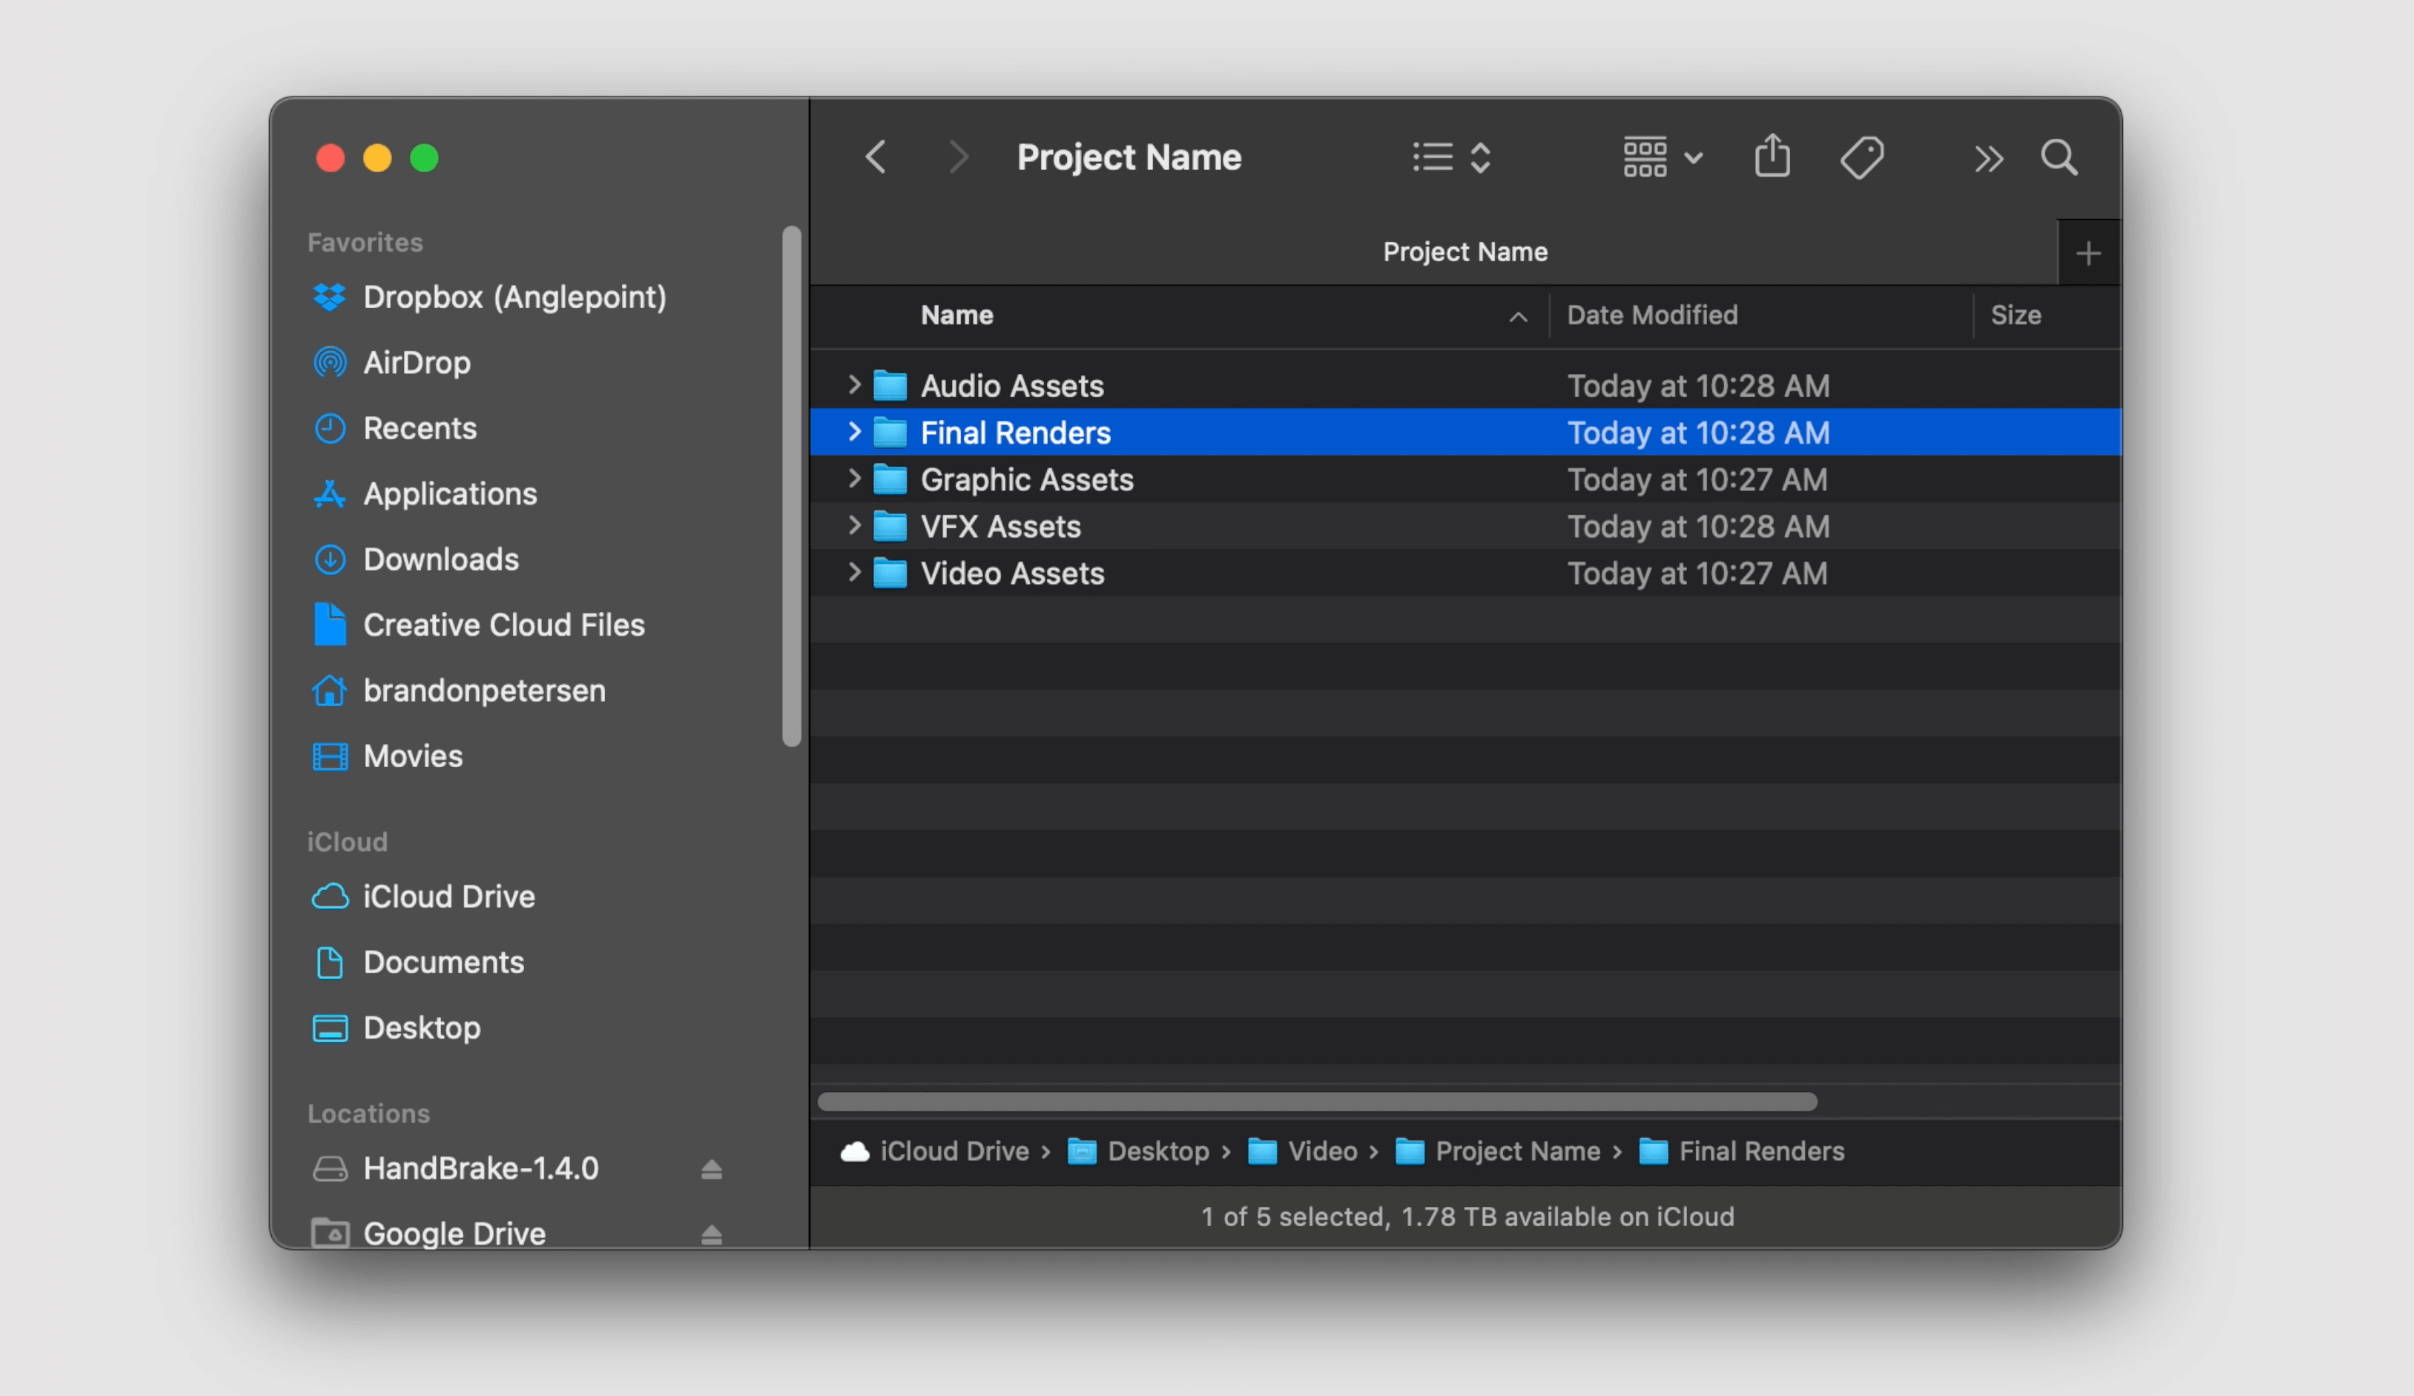
Keeping your footage organized within your NLE (non-linear editor) will also speed up your workflow. This can be done by creating folders and tags. If you’re building out a longer format piece it can also be beneficial to create sub projects to keep things organized. This can be done by scenes, for instance.
Next step is creating a rough cut, which is just like it sounds—a rough throw-together of your timeline. Don’t worry so much about the details (that will come later), as much as the shot-to-shot flow of the timeline.
Ollie Knight is an incredible creator and editor. When speaking to him about post-production, he gave us this advice.
“One of the critical parts of post is to get as much feedback as possible. Test the edit with people that will give you honest feedback to help improve the process. Maybe a segment doesn’t make sense, hit the right notes, or flow like you intended. Critique sessions should be about listening, not defending. If you’re more concerned about explaining your rationale, then you’ve missed the point of a critique.
In general, if something has to be explained post viewing, you need to go back to the edit. While the art of the craft can lead to multiple interpretations, it shouldn’t lead to general confusion. This may mean reworking scenes, adding things in, or removing parts all together.”
This happened with one of the scenes in our film that was supposed to illustrate a change in our main character's heart. It was too quick, too jarring, and ultimately unnecessary. Sometimes the most difficult and effective decision can be to cut something out entirely.
Once you’ve got your edit on lock, it’s time to bring it to life with color and sound design. The look you develop for your films should be intentional and motivated. Don’t just go teal and orange because you love Michael Bay. When dialing in your look, you should consider:
- Time period
- Mood
- Genre
- Visual Style
Ideally, you’ve shot the film with these things in mind. This will go a long way to making the look really sell.
One tip we received from Denver Riddle, of colorgradingcentral.com, was to push the grade past “normal” to see what’s really happening and then dial it back to where it feels right. Then make sure your shots match shot-to-shot, so as to not distract the viewer. Even the most novice cinephile will feel the jar of mismatched grade.
Once the sound design is locked, your graphics and effects are in place, you’re ready to hit the magic button: export.
Finally, you’ve made it through the entire process. Wrong! Who cares about your video if no one sees it. If a video gets uploaded to YouTube and no one watches it, did it even get uploaded?
There are many paths to get views of your work. This could be through film festivals, online campaigns, or more formal distribution. No matter the medium, it’s best to get views early and often. Loop in your network. Share. Share. Share. Host a virtual premiere. Entice viewers with incentives such as Q&A’s with the cast or crew.
With all that being said, sometimes it’s just important to get the story out, because your story matters.
We hope you’ve enjoyed this mini series. If you’d like to see more content like this, let us know in the comments below. Until next time, go create your story.

