MWR: Using Luts With Your Monitor

Using Luts With Your Monitor
with FilmConvert
In this week's episode of Move with Rhino, we wanted to show how you can improve your workflow by using a field monitor to preview your color grade before you take the footage to post. In other words, seeing what your clip will look in real time while shooting your video. FilmConvert makes it a breeze to color grade your footage and export custom LUT's that you can import into your monitor. After ditching our old ways and switching to FilmConvert, we have no regrets. This is our honest opinion. Check out the video below to find out how we use it!
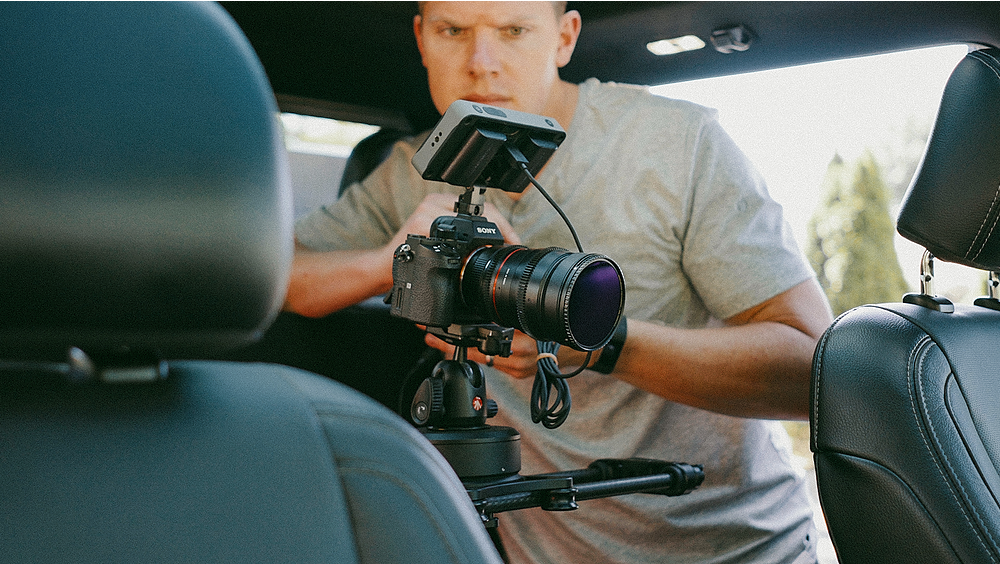
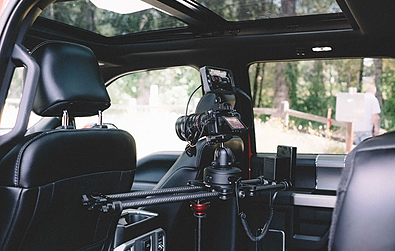
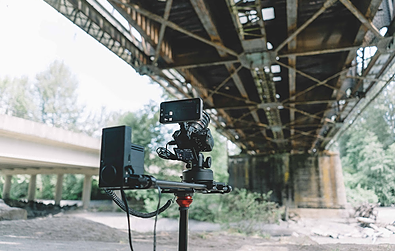
Behind The Scenes
Thanks for watching the latest episode to our series “Move with Rhino”. We want to help other filmmakers gain inspiration or give them tips on different types of shots. Be sure to subscribe to our YouTube channel for weekly uploads and updates. Now let’s go film.


We know that color grading can be tough. Do you ever feel like after hours of research and hundreds of dollars spent on LUTs you still can't get the right color correction you want? Trust us, we have been there. Which is exactly why we want to share the solution that we found. Watch the video below to see step by step how we color grade our videos with the FilmConvert adobe plugin.
Want to try FilmConvert for Free?
Use Code: "RHINO" for a 10% discount code or click on the button above and the code will be applied at checkout.


