MWR: Using Transitions

Using Transitions
In Adobe After Effects to make your video more dynamic
Similar to last weeks episode, we wanted to show you guys a cool tool that we use in Adobe After Effects. We found a transition pack called Handy Seamless Transitions that was created by Video Lance from videohive.net. It costs $38 dollars but it comes with large collection of transitions that you can drag and drop onto your video clips. The video we shot was to show how much more dynamic your videos can get once you add a transition with a cool effect. We used the Rhino Slider EVO to get a smooth sliding shot then used the transition to zoom into that composition. Check out the video below to see what it looks like!
STEP-BY-STEP

Step 1:
Import footage into Adobe After Effects and start a new composition.
Step 2:
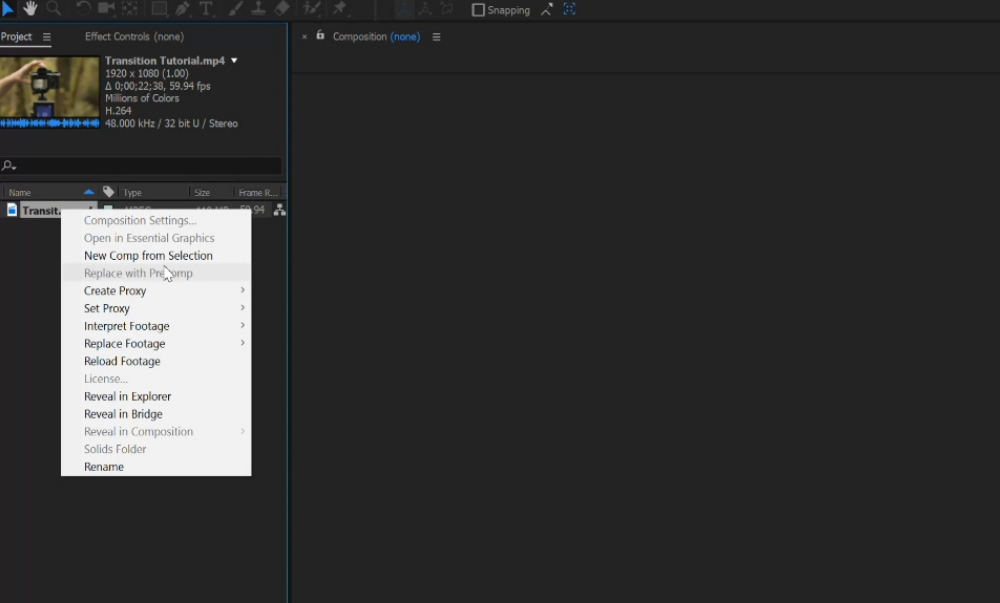
Find 'Handy Seamless Transitions' and import the proper project file into your project. Make sure you choose the one that matches your projects/videos resolution.
If you do not have the 'Handy Seamless Transitions', purchase and download the plug-in here.

Step 3:
Under the window tab, go to 'extensions' and open up the Handy Seamless Transitions window.
Step 4:
After opening up the window, you should be able to preview and see all the transitions within the pack. Once you have found one that you would like to use, click the 'add' button.
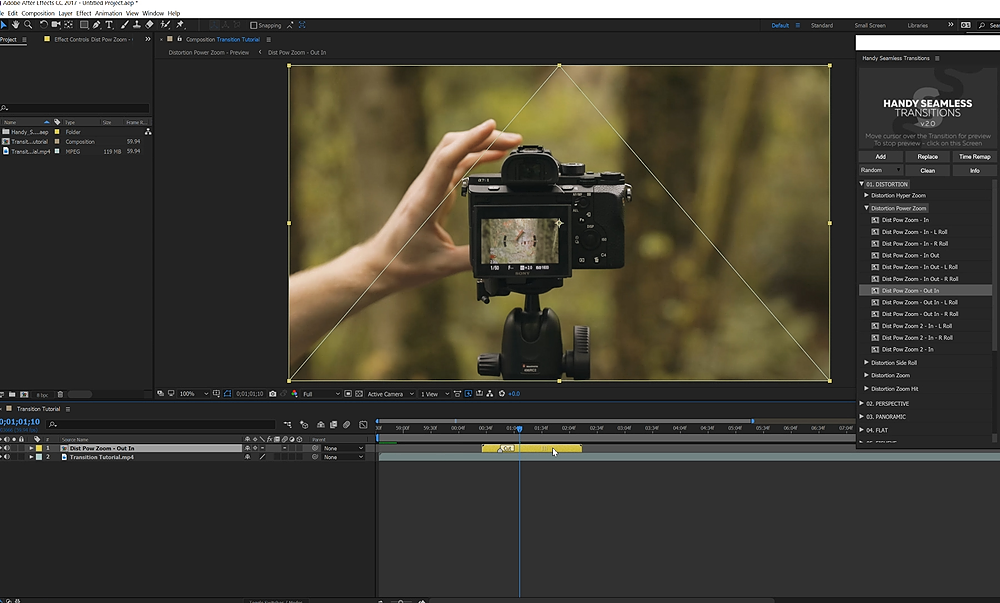
Step 5:
The transition should then drop straight into your timeline. From there, you can adjust the transition clip using the 'cut' marker to line up with where you would like the transition to happen.
Note: if you would like to adjust the actual key frames of the transition clip, click the 'Time Remap' button in the popup window.
Behind The Scenes
Thanks for watching the latest episode to our series “Move with Rhino”. We want to help other filmmakers gain inspiration or give them tips on different types of shots. Be sure to subscribe to our YouTube channel for weekly uploads and updates. Now let’s go film.